Integrating Fairy Papercut 3D Shadow Box Layered Designs into Your Creative Workflow
In the evolving landscape of digital crafting and physical decor creation, the transition from a two-dimensional concept to a tangible, three-dimensional object requires more than just artistic vision; it demands a streamlined workflow. The Fairy Papercut 3D Shadow Box Layered design represents a sophisticated intersection of digital precision and manual artistry. For professionals, hobbyists, and small business owners alike, understanding how to integrate this asset into a broader production pipeline is essential for maximizing efficiency and achieving high-quality results. This article explores the practical implementation of these layered designs, focusing on preparation, tool compatibility, and the strategic use of lighting to elevate the final product.
Understanding the Asset Structure and Versatility
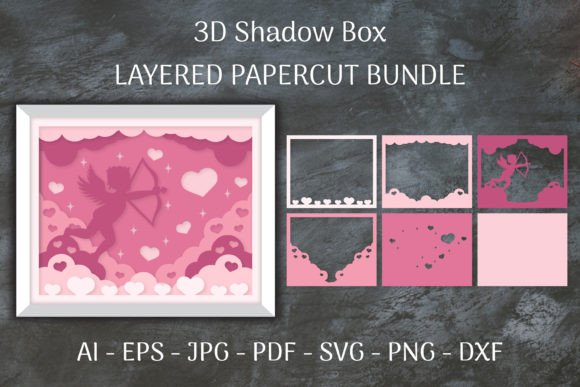
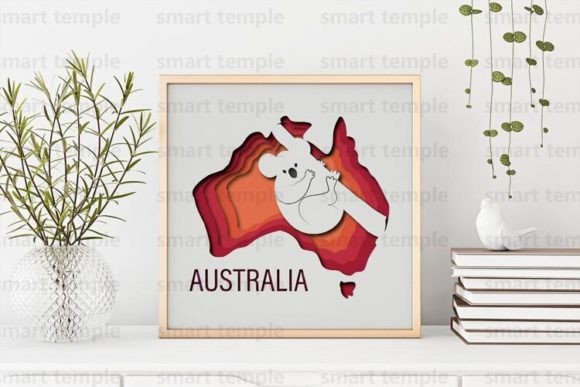
At its core, a layered shadow box design is a study in depth and perspective. The Fairy Papercut 3D Shadow Box Layered template is not merely a single image but a complex assembly of distinct elements that, when stacked, create a narrative scene. This structural complexity offers significant versatility. Before beginning any project, it is crucial to recognize that this asset serves dual purposes: it functions as a static wall decoration and, with minor modifications, as an illuminated light box. This duality allows creators to adapt the same base file for different market segments or personal aesthetic goals without starting from scratch.
The design’s utility extends beyond simple decoration. For educators, it can serve as a teaching tool for understanding spatial relationships and layering techniques. For entrepreneurs, it provides a scalable product line where variations in lighting or frame depth can create unique SKUs from a single digital purchase. Recognizing this flexibility early in the planning phase helps in resource allocation, ensuring that materials such as cardstock, adhesives, and lighting components are procured in alignment with the intended final output.
Digital Preparation and File Compatibility
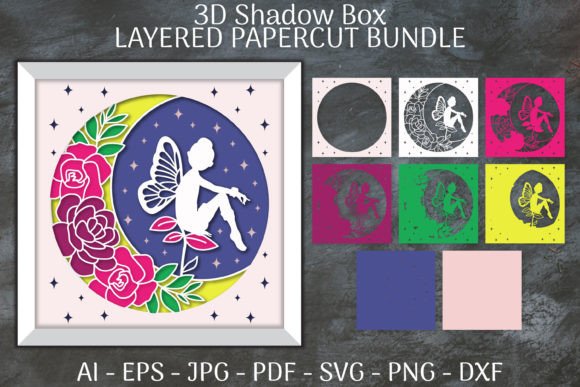
The foundation of a successful physical build lies in digital preparation. Upon purchasing the design, you receive a comprehensive ZIP file containing multiple formats: AI, EPS, PDF, JPEG, PNG, SVG, and DXF. This variety ensures compatibility with a wide range of software ecosystems and cutting hardware. For users operating within the Adobe Creative Cloud suite, the AI and EPS files offer vector scalability, allowing for precise adjustments to size without loss of quality. This is particularly important when scaling the design to fit non-standard frame dimensions.
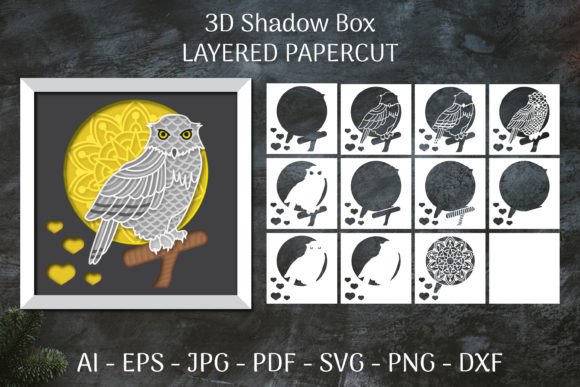
For those utilizing cutting machines like the Cricut or Silhouette, the SVG and DXF files are the primary assets. These formats retain the cut paths necessary for clean execution. It is advisable to open these files in your preferred cutting software to verify layer integrity before sending them to the machine. Check for closed paths and ensure that no stray nodes exist, as these can cause cutting errors or material waste. The inclusion of PNG and JPEG files serves a different purpose: they act as visual references during the assembly process. Having a high-resolution image of the completed layers aids in verifying the correct stacking order, reducing cognitive load during the intricate assembly phase.
Tool Selection: Machine Cutting vs. Manual Precision
The choice between using a digital cutting machine and a manual art knife depends largely on volume, precision requirements, and available resources. If you are producing multiple units or seeking uniform consistency, a Cricut or similar device is the optimal choice. The SVG cut file included in the download is optimized for these platforms. When using a machine, focus on blade calibration and material settings. Cardstock thickness varies by brand, so conducting test cuts on scrap material ensures that the blade penetrates fully without tearing the underlying mat.
Conversely, if you do not have access to a cutting machine, or if you prefer the tactile engagement of handcrafting, the design is equally suited for manual execution. Using a sharp art knife and a self-healing cutting mat, you can achieve remarkable precision. This method requires patience and a steady hand, particularly for the intricate details characteristic of fairy-themed designs. The PDF file often serves well here, as it can be printed directly onto the cardstock, providing a guide for cutting. However, remember to account for the kerf—the width of the blade cut—when aligning layers manually, as this can slightly alter the fit compared to digital cuts.
Enhancing Depth with Lighting Integration
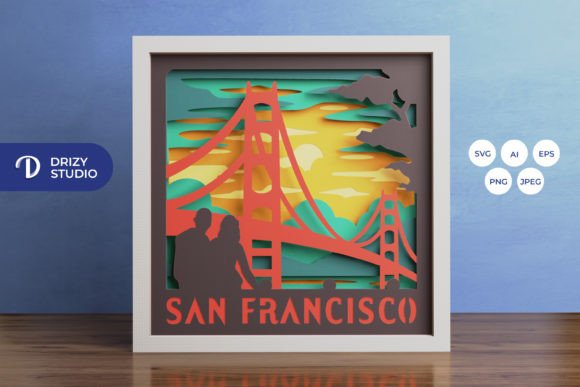
Transforming the Fairy Papercut 3D Shadow Box Layered design into a light box introduces a dynamic element that significantly enhances its visual impact. The integration of LED strips requires careful planning during the assembly process. Unlike static wall decor, a light box must accommodate wiring and power sources without disrupting the aesthetic harmony of the scene.
To achieve a balanced color effect, consider the placement of LED strips along the inner edges of the frame or between specific layers. Diffusion is key; direct exposure to LED bulbs can create hotspots that detract from the delicate paper details. Using frosted acrylic sheets or thin layers of vellum between the light source and the paper layers can soften the illumination, creating a gentle glow that highlights the depth of the cutouts. Experimenting with RGB LED strips allows for customizable color effects, enabling the creator to shift the mood of the piece from warm and nostalgic to cool and ethereal. This adaptability makes the light box version particularly appealing for interior designers looking to match specific room palettes.
Assembly Workflow and Quality Control
Efficient assembly relies on organization and methodical execution. Begin by sorting all cut pieces according to their layer number. The downloaded ZIP file typically structures the SVG layers in a logical order, but verifying this against the reference PNG is a prudent step. Use acid-free adhesive dots or double-sided tape for attaching layers. Liquid glues can warp paper, compromising the flatness required for a professional finish. Apply adhesive sparingly to avoid seepage, which can stain visible areas of the design.
Quality control should be ongoing throughout the assembly. After attaching each layer, inspect the alignment from multiple angles. Ensure that the spacing between layers is consistent, as this uniformity contributes to the perceived depth of the shadow box. If constructing a light box, test the lighting setup before sealing the back panel. This preemptive check prevents the need for disassembly if electrical issues arise. Finally, secure the assembly in a deep-set frame designed for shadow boxes, ensuring that the glass or acrylic front does not compress the layered paper, which could flatten the 3D effect.
Long-Term Use and Maintenance Considerations
For creators selling these items or displaying them in high-traffic areas, durability is a concern. Paper is susceptible to fading and environmental damage. To mitigate this, consider using UV-resistant cardstock or applying a clear archival spray sealant. This not only protects the colors but also adds a degree of rigidity to the layers. For light box versions, heat management is critical. Ensure that the LEDs used are low-heat variants to prevent warping or discoloration of the paper over time. Proper ventilation within the frame can also extend the lifespan of both the electronic components and the paper art.
The Fairy Papercut 3D Shadow Box Layered design is more than a decorative item; it is a versatile asset that fits seamlessly into various creative and commercial workflows. By understanding the technical specifications of the provided files, selecting the appropriate cutting method, and strategically integrating lighting, creators can produce high-quality, professional-grade art. Whether used for personal enrichment, educational purposes, or commercial sales, this design offers a robust platform for exploring the interplay of light, shadow, and paper. Do not hesitate to experiment with these techniques, and if questions arise regarding file usage or assembly nuances, reaching out for clarification ensures a smoother creative journey.